Here we go!

What you'll need:

For the interior pockets:
2x 23x18.5cm
1x 19.5x18.5cm
passportpocket: 20x11cm
closure-flap 1x 16.5x8cm
Heavy and medium/light fusible interfacing
a snap
if you prefer inches you can round your numbers so you won't get
too odd sizes to work with.
My Dutch passport fits ( it's 9x12.5cm), if you are from another nationality you should measure beforehand (or put it in a different pocket inside the wallet :)
Read the whole tutorial before sewing!
Iron the heavy interfacing on both base parts and the flap(the black and white in my case) and the medium/light onto the rest.
Put the base parts aside.
Take one of the 23x 18.5 pocket pieces and iron it in half. With a (quilter's) ruler cut of a 45 angle on the FOLDED side.


With right side together, sew the side where you cut off the corner, with a small seam-allowance.
Turn and topstitch the angle and the across the folded side.

Take the passportpocket, fold it in half ( the 20cm side) and with right sides together close one side, again with small seam-allowance . Mind that the 11cm goes from left to right.Turn and topstitch folded edge.
Fold the remaining pocketpieces in half and topstitch all the folded edges.
I did it earlier here and there, but now is a good time to round the outer corners. On the pic you can see how to layer the pockets and which corners are on the outer side. I used a threadcone as a template.

Take your passport pocket and the one with the angle. Match the rounded corner and sew the right side of the little pocket on to the bigger one, again with a tiny seamallowance. If your seam is too big, the passport will not fit.

Take your right pocket, match outher corners and sew a line in the middle off the smaller pocket so it is attached to the bigger ánd is made into 2 pockets.

Layer all the parts but the outer part, together and machine baste all around. If you want, you can sew an elastic loop in the middle for a pen.
Now it's time to take your flap: cut it in half, and sew together with the same small allowance. Turn and topstitch. Add a snap.

Machine baste the flap on the outer part of your wallet , right sides together.

 Put the piece with the flap on top of the piece with the pockets, machinebaste and sew all around. Leave an opening for turning where the pocket with the angle is. That way you have a "reasonable" turning opening and all the pockets will allready be attached .
Now will be a good time to take a break and perhaps take a cup of coffe or tea ......
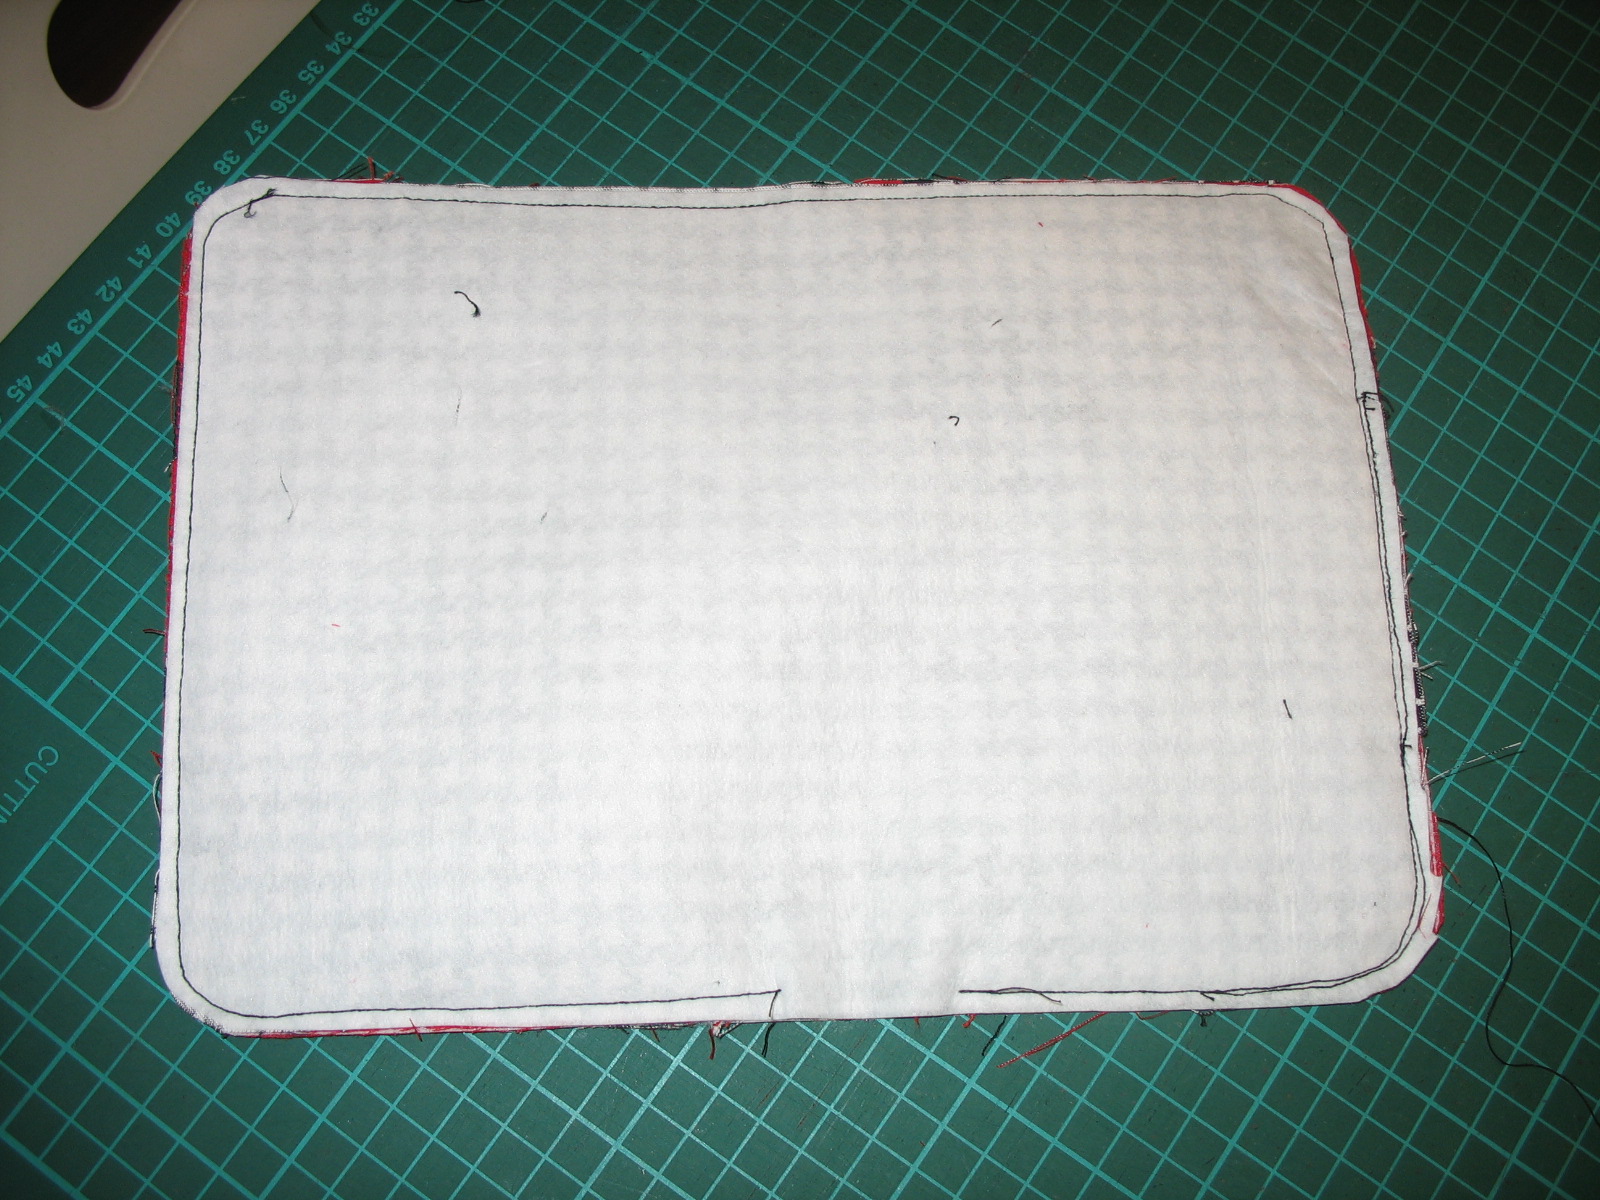
Next step is: TURN and that's a bit easier said than done....

You'll probably have to press the whole wallet again 'cause it'll look like this now

After pressing, , attach the other part of the snap. Now you can excactly see where it is supposed to be and you can put your hand in the opening for acces .
Topstitch all around , this will close your turning opening as well .


Pfffff, whipe the sweat off your face, admire your work and dream of all the places you want to travel to...
I hope this story makes any sense. If it doesn't, let me know, it's a lot easier to sew than it is to explain how to:)


A lovely tutorial Annemiek!! I need to actually go someplace foreign so I can make one LOL.
ReplyDeleteCrispy
A great tutorial Annemiek!!! I
ReplyDeletewill be making a few of these for sure!!! I will have to add your tute link in my sidebar so as not to have to hunt for it when needed... Thanks for posting this!!! 8-)
Oh great...I love the tutorial. And, as you know, I just happen to need one of these. Thank you.
ReplyDeleteIk ga binnenkrt op vakantie dan is die wel erg handig nu nog even een potje tijd vinden. Maar ik ga hem zeker een keer maken.
ReplyDeletehi,
ReplyDeleteattaching the flap is not very clear. which direction do we cut the flap? which side of the outer layer is the flap attached?
how do we attach elastic?
ReplyDeleteI need one of these! Thanks for sharing Annemiek!
ReplyDeleteThank you for sharing with us
ReplyDelete